 Nederlands
 English
IBM Cloud
Create an IBM Cloud account on https://cloud.ibm.com
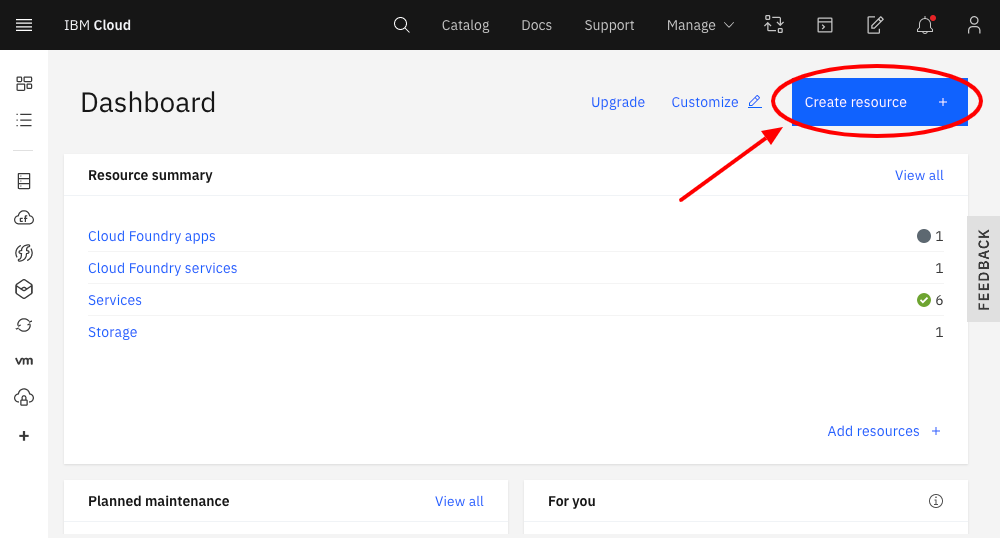
Login at IBM Cloud and click on the button “Create Resource”.
Click on the menu item "Services" (Arrow #1) and select the option "AI" (Arrow #2).
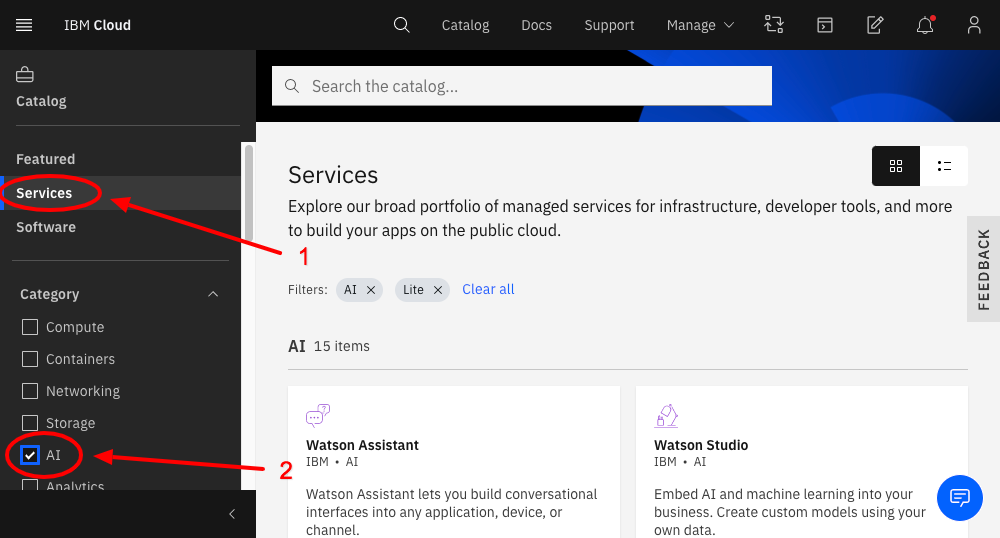
15 different AI services are now shown on the right side of the page.
Now create the following API Services:
Watson Assistant (Region: London)
Speech to Text (Region: London)
Text to Speech (Region: London)
Visual Recognition (Region: Frankfurt)
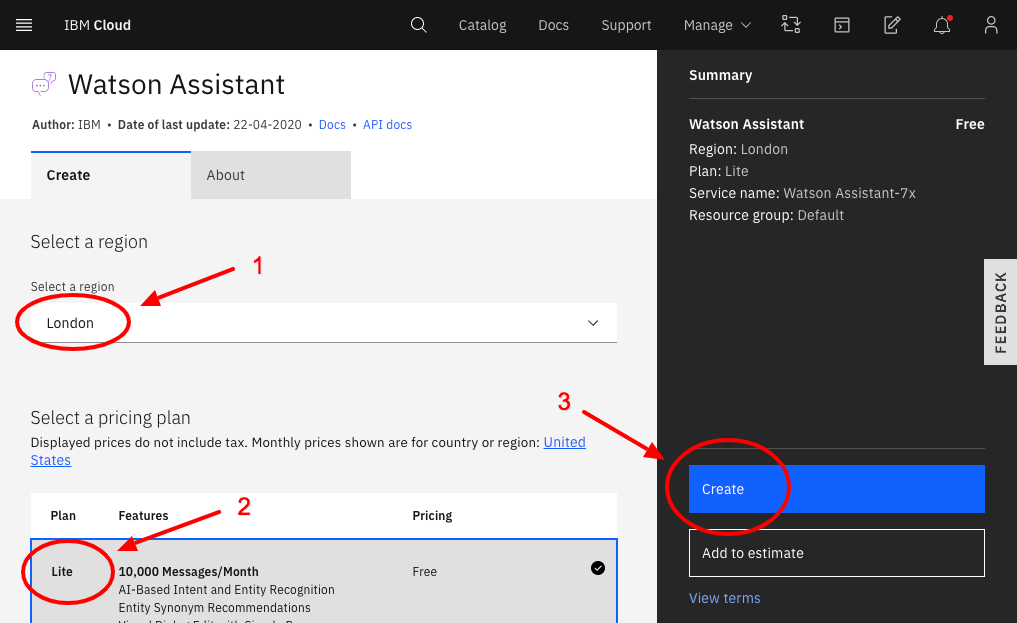
Choose the free “Lite” Plan everywhere and then click the “Create” button.
Arrow #1 points to the Region selection, Arrow #2 points to the Plan Selection and Arrow #3 points to the "Create" button.
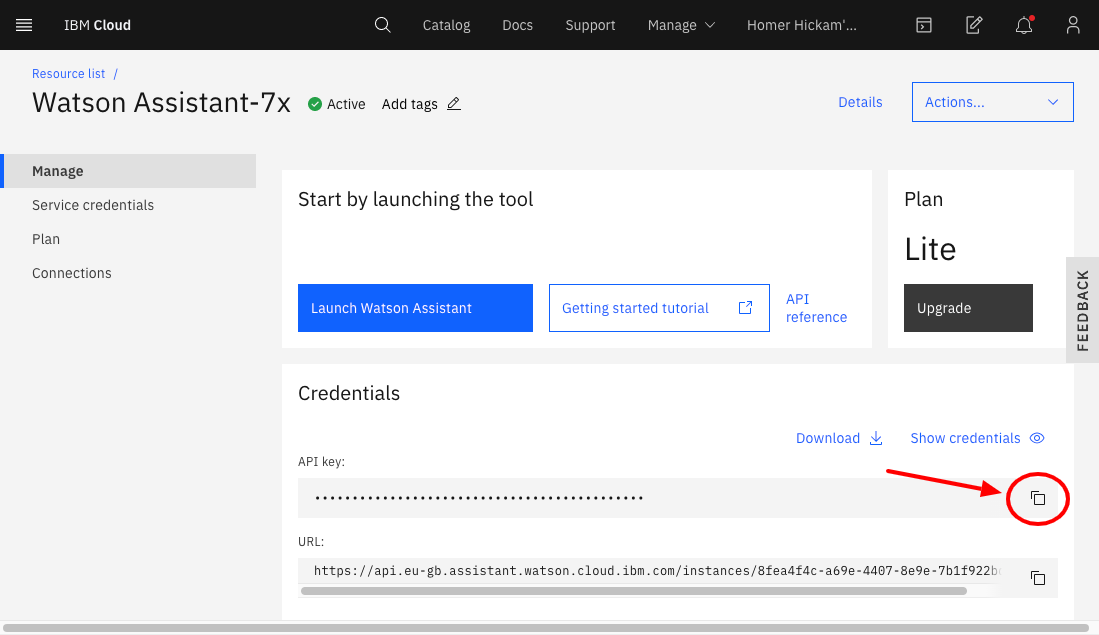
After the creation of each service, click on the menu option "Manage" and save the API Key and URL for all API Services.
You can do this by clicking on the copy icon and pasting the value into the table in the template document “API_keys_EN.docx”.
Download the following file: workspace-sample.json
Now click on the menu icon at the top left of the IBM Cloud Website.

Then select the option “Resource List”. Click under the option “Services” the link to the for your own Watson Assistant Service.
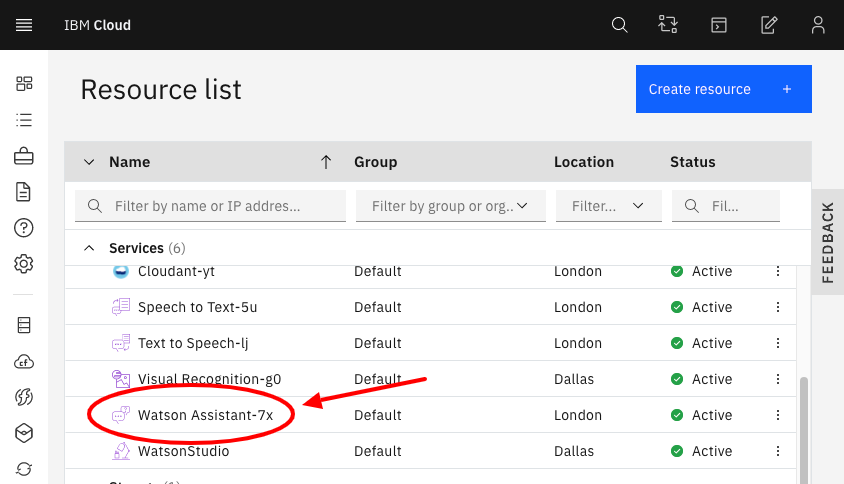
Click on the “Launch Watson Assistant” button. This action opens a new browser screen.
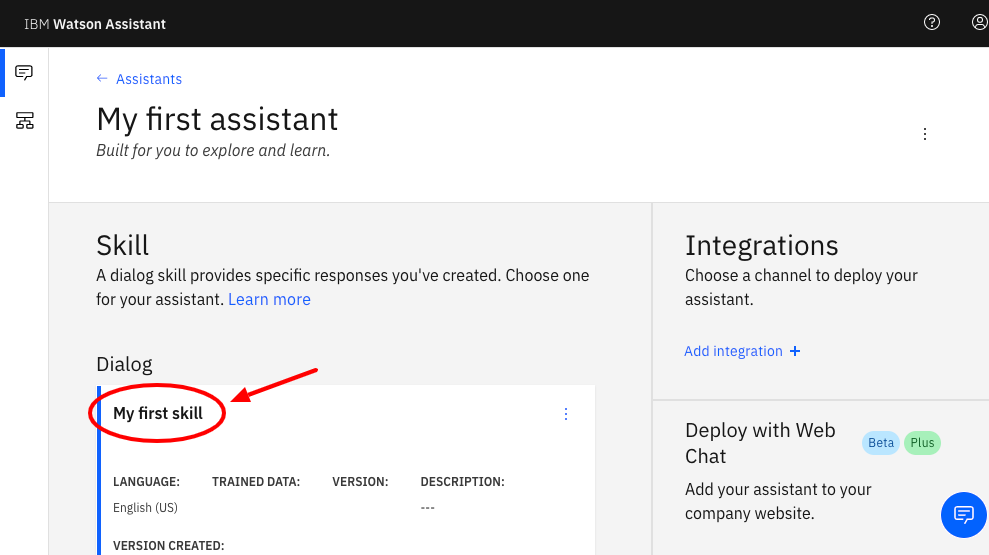
Click on “My first assistant”.
Click on “My first skill”.
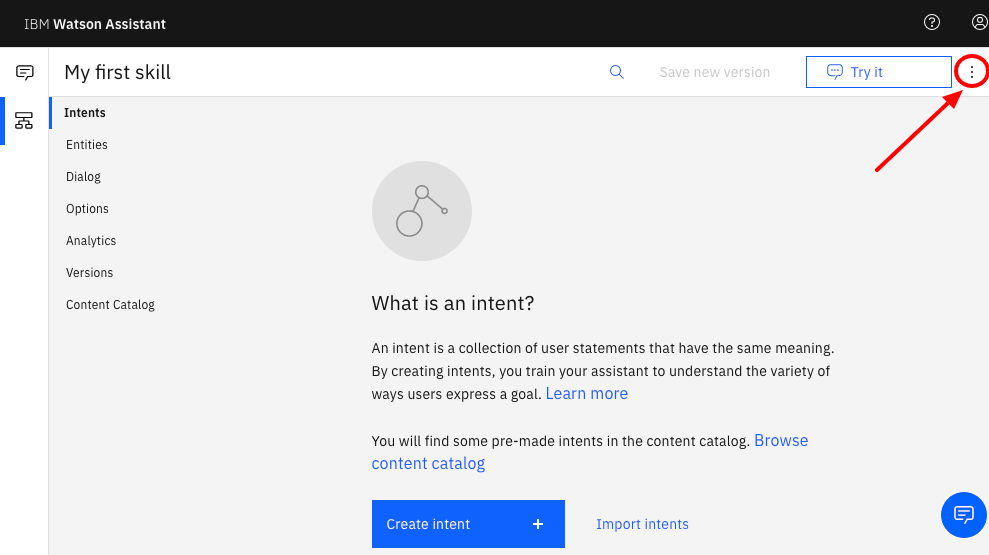
Click on the 3 dots to the right of the “Try It” button at the top right of the web page and select the option “Import…”.
At the warning click on "Import and overwrite".
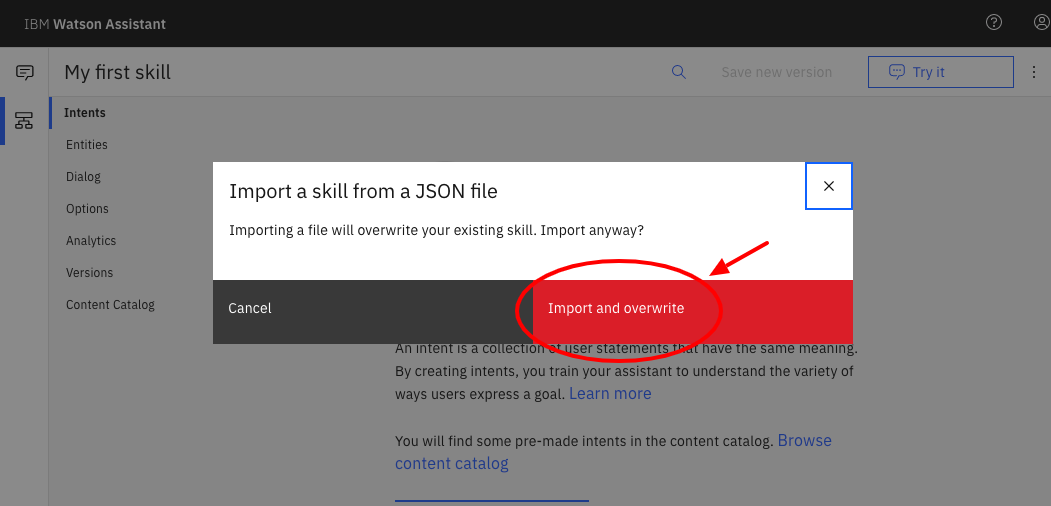
Here you select the json file you just downloaded (workspace-sample.json) and click open.
Now click on the “IBM Watson Assistant” logo at the top left of the web page.
Click on “My first assistant” again.
Now click on the three dots at Dialog “TJBot” and select “View API Details”.
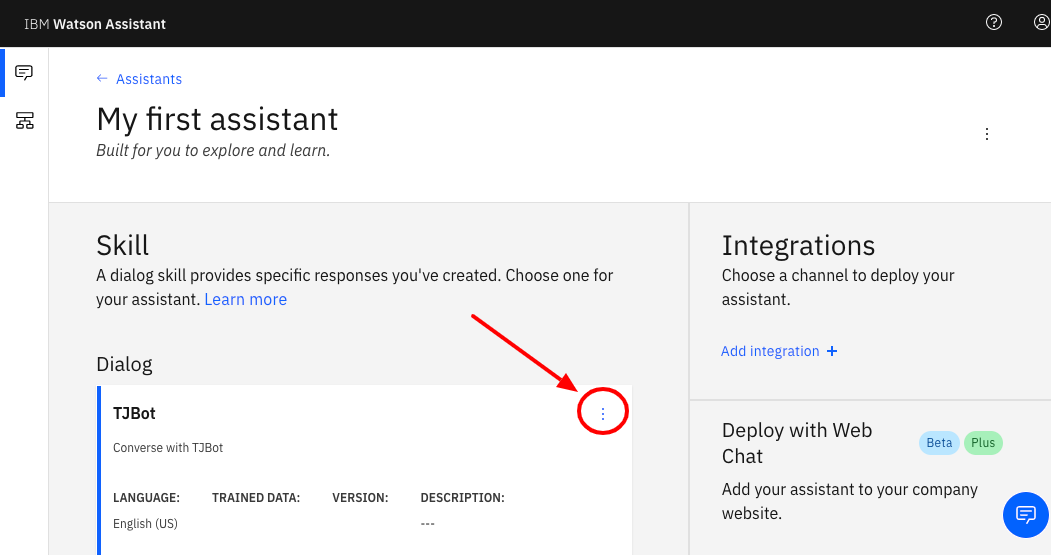
Save the value after “Skill ID” by pasting it into the table in the template document “API_keys_EN.docx”.
You are now done creating the IBM Cloud accounts.